ChainerでCIFAR-10を直接読み込むことが、MNISTと同じようにできるのがわかったの、早速試してみた。
これだけ分かれば、画像を表示して確認できるので、やってみた。
 プログラムは、MNISTの時とほとんど同じである。
>>> import numpy as np >>> import chainer >>> (train, test) = chainer.datasets.get_cifar10() >>> len(train) 50000 >>> train[0] (array([[[ 0.23137257, 0.16862746, 0.19607845, ..., 0.61960787, 0.59607846, 0.58039218], [ 0.0627451 , 0. , 0.07058824, ..., 0.48235297,これから、trainは50000個の要素が詰まっていて、各要素は、(イメージ,クラス)の形になっていて、画像データは、numpy.float32の3x32x32配列であることが分かる。
................. 中略 ................
[ 0.45490199, 0.36862746, 0.34117648, ..., 0.54901963, 0.32941177, 0.28235295]]], dtype=float32), 6) >>> train[0][0].shape (3, 32, 32) >>> type(train[0][0]) <class 'numpy.ndarray'> >>> type(train[0][0][0][0][0]) <class 'numpy.float32'> >>> type(train[0][1]) <class 'numpy.int32'>
>>> [train[i][1] for i in range(30)]
[6, 9, 9, 4, 1, 1, 2, 7, 8, 3, 4, 7, 7, 2, 9, 9, 9, 3, 2, 6, 4, 3, 6, 6, 2, 6, 3, 5, 4, 0]
>>>
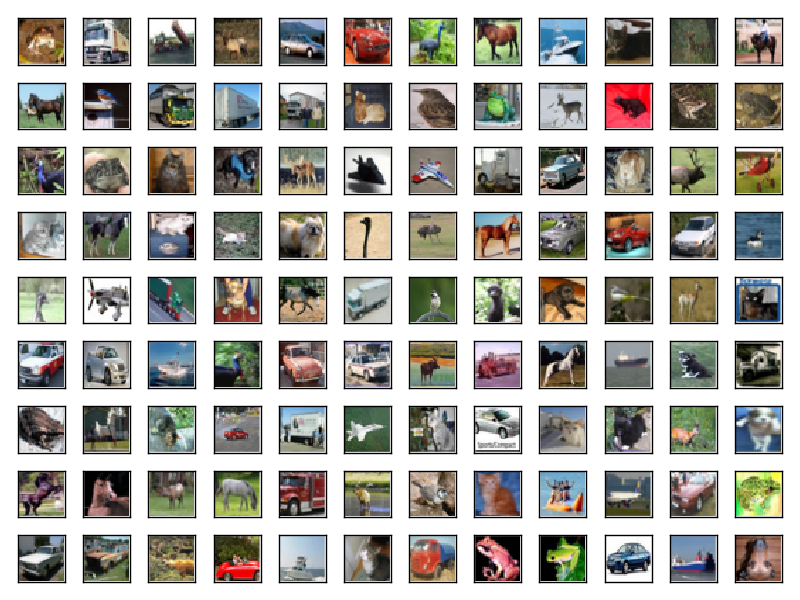
これだけ分かれば、画像を表示して確認できるので、やってみた。
プログラムは、MNISTの時とほとんど同じである。import chainer
import matplotlib.pyplot as plt
import numpy as np
(train, test) = chainer.datasets.get_cifar10()
fig,ax = plt.subplots(nrows=9,ncols=12,sharex=True,sharey=True)
ax = ax.flatten()
for i in range(108):
img = train[i][0]
newimg = np.dstack((img[0],img[1],img[2]))
ax[i].imshow(newimg,interpolation='none')
ax[0].set_xticks([])
ax[0].set_yticks([])
plt.tight_layout()
plt.savefig("CIFAR-10-9x12.png")
plt.show()

#人気の記事
#タグ